I'd also like to call your attention to the fabulously blue sky and white fluffy clouds. [sigh] Colorado is the promised land.
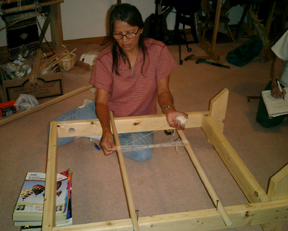
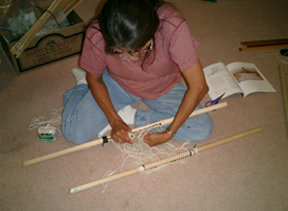
On to the Navajo Weaving Workshop. It was a 3 day workshop (8 hours/day) that ran on Friday, Saturday, and Sunday. The morning on Friday was all demonstration by Marilou. We watched her warp and dress her loom all morning and then had a go at it ourselves in the afternoon. One cool thing about the Navajo loom is that it's made from 2x4s, so even though it's a tool, it didn't feel like I could do anything to hurt it. Here's a shot of Marilou preparing the warp.
We flipped the looms on their sides and pounded nails into the loom. The dowels show how long the warp will be and you just wind the warp on until it's as wide as you want it to be.
The feeling I got was that the Navajo aren't too stuck on measurements and "perfection." Marilou knows that her hand is about 7 inches long, so she uses it to measure how wide the warp is getting...
After the warp is as wide as you want it to be. You need to put in edge cord. [I didn't understand the significance of this until we talked about taking the piece off the loom. Once you remove a Navajo weaving from the loom it is, for all intents and purposes, finished. You don't have any ends to secure, or any backstitching to do - how cool is that?] So here's Marilou putting on the edge cord.
This is what the warp looks like when you've removed it from the back of the loom. You can warp what ever length/width you need. Once you put the edge cord on and preserve the cross you can put this in a safe place and it keeps for any length of time. Marilou says as long as it's not disturbed, you can keep it like this for months if you need to.
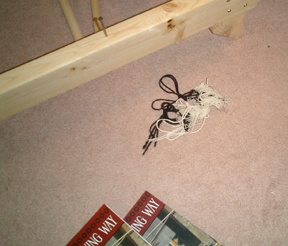
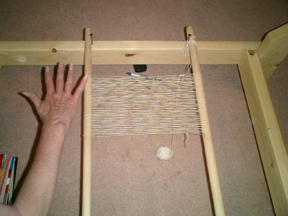
The next step is lashing the warp to the dowels. This involves twisted cord (usually cotton) and you tie the edge cord to the dowel. You need to be very careful and make sure the edge cords aren't twisted. This isn't a terribly difficult step, but it is a little tedious. There are a lot of things you need to pay attention to and a lot of ways to screw this up.
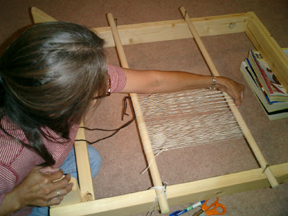
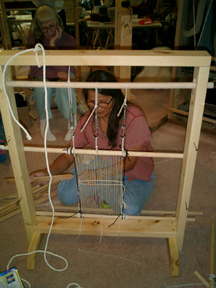
Finally, you lash the warp to the loom. At this point, you also have to add edge strings (the brown lines on the loom next to the warp). These are woven into the piece and provide it with a nice firm edging as well as a road map of sorts. The edge strings represent the edges of your piece so you measure and remeasure the distance between these as you are weaving to make sure you're not drawing in and shrinking the size of your piece.
Okay, that was Friday's work. I know I left feeling like I had accomplished something, but I was exhausted! There was so much thinking going on - we had to turn fans on to keep the room cool! Tomorrow...some actual weaving.
No comments:
Post a Comment